
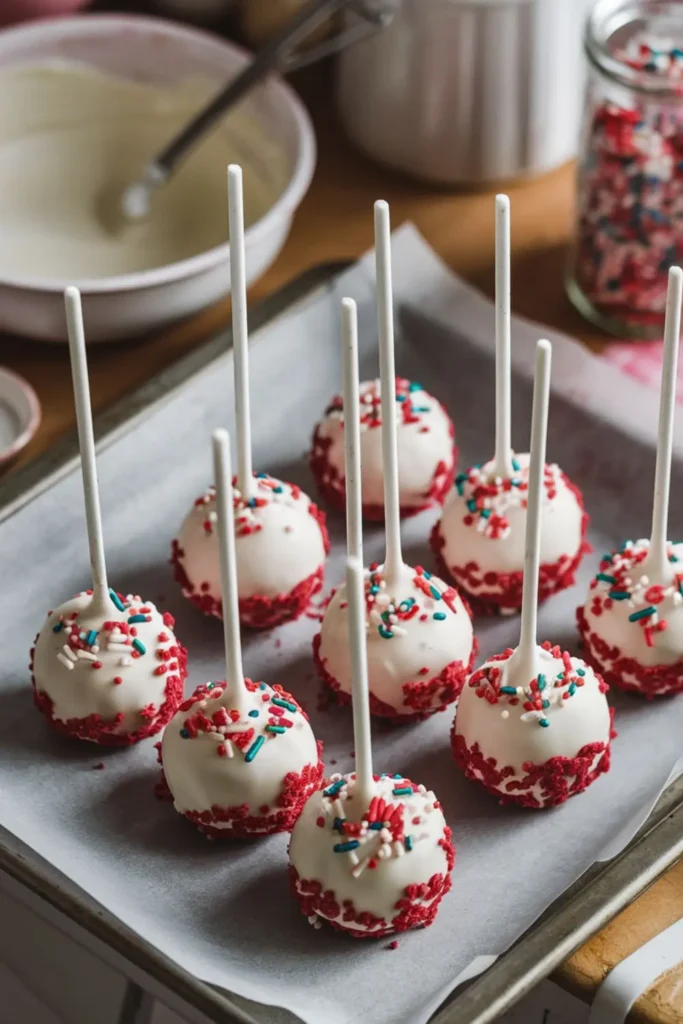
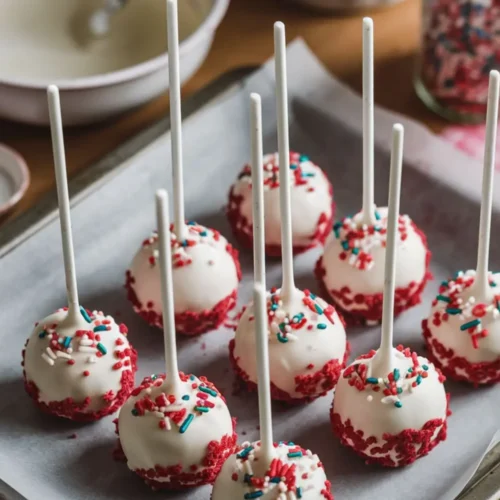
These bite-sized red velvet cake pops are a festive and fun dessert, perfect for Valentine’s Day celebrations or any occasion where you want to impress friends and loved ones with a delightful treat. Moist red velvet cake mixed with creamy frosting, dipped in smooth white chocolate, and finished with sprinkles make these irresistible and easy to serve.
Why You’ll Love Red Velvet Cake Pops Recipe
- Perfectly Portion-Controlled: Bite-sized and easy to share.
- Festive & Fun: The vibrant red color and sprinkles make these visually stunning.
- Simple to Make: Using boxed cake mix and frosting speeds up the process.
- Customizable: Swap white chocolate for dark or milk chocolate and change sprinkles to match any occasion.
Ingredients
- 1 box red velvet cake mix (prepared according to package directions and cooled)
- ½ cup cream cheese frosting
- 1 cup white chocolate chips or melting wafers
- Sprinkles for decoration
Equipment List
- Mixing bowl
- Spoon or spatula
- Baking sheet lined with parchment paper
- Lollipop sticks or sturdy straws
- Microwave-safe bowl
- Fork or skewer for dipping
Preparation Time
- Active Prep: 30 minutes
- Chilling Time: 1 hour
- Total Time: 1 hour 30 minutes
Step-By-Step Instructions
- Prepare the Cake Base: Once your red velvet cake has cooled completely, crumble it into a mixing bowl using your hands or a fork until it forms fine crumbs.
- Mix with Frosting: Add the cream cheese frosting gradually to the crumbs, mixing thoroughly until the mixture holds together when pressed. You may not need the entire ½ cup.
- Shape the Cake Pops: Scoop about 1 tablespoon of the mixture and roll it into a smooth ball. Repeat with the remaining mixture. Insert a lollipop stick into each ball and place them on the lined baking sheet. Freeze for 20–30 minutes to firm up.
- Melt the Chocolate: In a microwave-safe bowl, melt the white chocolate chips in 30-second intervals, stirring in between until smooth. Avoid overheating, as it can cause the chocolate to seize.
- Dip the Cake Pops: Remove the cake pops from the freezer. Dip each ball into the melted chocolate, ensuring it is fully coated. Gently tap off any excess chocolate.
- Decorate: While the coating is still wet, sprinkle the top with festive sprinkles. Place the pops upright in a foam block or return them to the lined baking sheet.
- Chill and Serve: Let the coated cake pops set in the fridge for at least 1 hour until the chocolate hardens completely.
Also Serve With- Super Easy Valentines Chocolate-Dipped Strawberries
Additional Tips For Red Velvet Cake Pops
- For Smooth Dipping: Add 1 teaspoon of coconut oil to the chocolate for a thinner consistency.
- Use a Food Processor: To ensure fine crumbs, use a food processor to break down the cake.
- Storage: Store cake pops in an airtight container in the fridge for up to 5 days.
- Make Ahead: Cake pops can be frozen (before dipping) for up to 2 weeks. Simply thaw slightly before coating in chocolate.
Still Hungry- 10 Super Easy And Lovely Valentine Day Party Food Recipe
Red Velvet Cake Pops
These bite-sized red velvet cake pops are a festive and fun dessert, perfect for Valentine’s Day celebrations or any occasion where you want to impress friends and loved ones with a delightful treat. Moist red velvet cake mixed with creamy frosting, dipped in smooth white chocolate, and finished with sprinkles make these irresistible and easy to serve.
Equipment
- Mixing bowl
- Spoon or spatula
- Baking sheet lined with parchment paper
- Lollipop sticks or sturdy straws
- Microwave-safe bowl
- Fork or skewer for dipping
Ingredients
- 1 box red velvet cake mix prepared according to package directions and cooled
- ½ cup cream cheese frosting
- 1 cup white chocolate chips or melting wafers
- Sprinkles for decoration
Instructions
- Step-By-Step Instructions
- Prepare the Cake Base: Once your red velvet cake has cooled completely, crumble it into a mixing bowl using your hands or a fork until it forms fine crumbs.
- Mix with Frosting: Add the cream cheese frosting gradually to the crumbs, mixing thoroughly until the mixture holds together when pressed. You may not need the entire ½ cup.
- Shape the Cake Pops: Scoop about 1 tablespoon of the mixture and roll it into a smooth ball. Repeat with the remaining mixture. Insert a lollipop stick into each ball and place them on the lined baking sheet. Freeze for 20–30 minutes to firm up.
- Melt the Chocolate: In a microwave-safe bowl, melt the white chocolate chips in 30-second intervals, stirring in between until smooth. Avoid overheating, as it can cause the chocolate to seize.
- Dip the Cake Pops: Remove the cake pops from the freezer. Dip each ball into the melted chocolate, ensuring it is fully coated. Gently tap off any excess chocolate.
- Decorate: While the coating is still wet, sprinkle the top with festive sprinkles. Place the pops upright in a foam block or return them to the lined baking sheet.
- Chill and Serve: Let the coated cake pops set in the fridge for at least 1 hour until the chocolate hardens completely.
Notes
Additional Tips
- For Smooth Dipping: Add 1 teaspoon of coconut oil to the chocolate for a thinner consistency.
- Use a Food Processor: To ensure fine crumbs, use a food processor to break down the cake.
- Storage: Store cake pops in an airtight container in the fridge for up to 5 days.
- Make Ahead: Cake pops can be frozen (before dipping) for up to 2 weeks. Simply thaw slightly before coating in chocolate.